|
|
|
Three
dimensional photos and maps can help resource managers quickly
analyze hydrologic, aesthetic, habitat type, fire suppression
and other site management factors. Once mastered, the steps in
creating 3D land images are fairly simple.
|
|
Five
programs featured in the Digital Grove
Toolbox will easily generate 3D views:
-
3DEM
first loads a Digital Elevation Model, which can then be rotated
and viewed from any angle. You can work with just the Digital
Elevation Model if you wish, but the real power of 3DEM is
its ability to add an overlay or "skin" from a 2D
image over the top of the terrain model (click Figures
B-D, above, for information about how the views were
created).
-
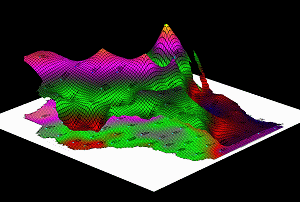
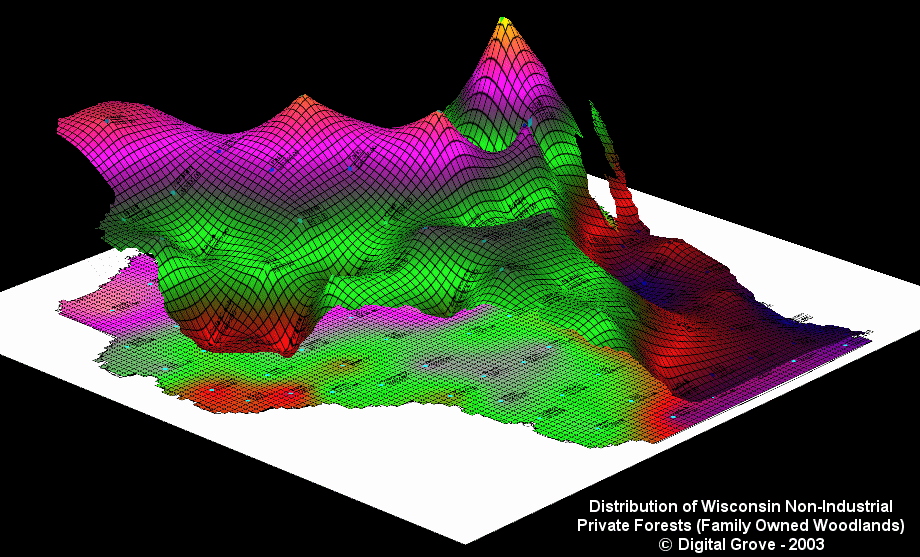
3DField
generates perspective views of Digital Elevation Models like
3DEM, but it excels in the ability to create striking 3D maps
of data as shown in the following example (click the image
for a full-screen view). Look here
for a short tutorial
on how this map was made.
-
Also, check out NASA's
World Wind and Google
Earth. Both programs download digital terrain models
and geographic imagery automatically from web servers. All
you need to do is navigate around the globe to the place you
want to view. Broadband Internet and a robust PC are required
for the programs to work.
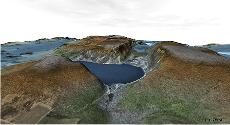
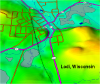
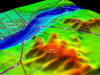
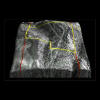
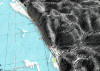
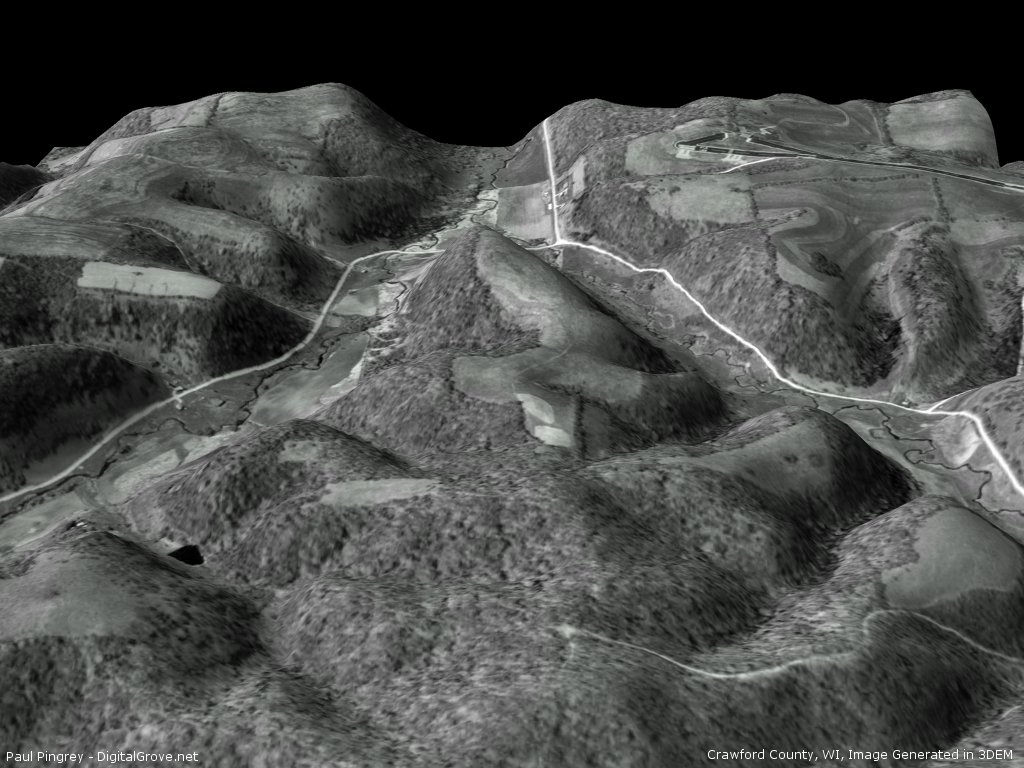
Below
are three images that show (1) a conventional aerial photo, (2)
a bare 3D terrain model and (3) the previous two elements combined.
Note that the hill shadows, which are not the same in the second
and third images, illustrate how the position of the light source
can be moved in 3DEM. You'll get a more realistic overlay image
in 3DEM if you adjust the "sun" position to correspond
with the shadows in the original aerial photo.
|
|
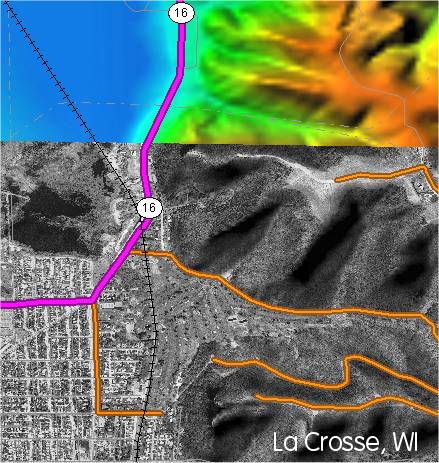
Overlay
Techniques
3DEM works with two layers: the elevation model and one overlay
image. As such, it does not have the ability of the free TatukGIS
Viewer or Global Mapper to add multiple data layers. By using
3DEM and the TatukGIS Viewer or Global Mapper together, you
can have the best of both programs. These programs can be
used to produce overlays that incorporate multiple geospatial
data layers. Export a TatukGIS Viewer image (which is saved
with georeferencing information) or a screen capture of a Global
Mapper image to use it as an overlay in 3DEM.
 3DEM
can use images from many sources: screen captures, Digital Ortho
Photos, USGS Digital Raster Graphics, GeoTiff files, TerraServer
images, etc. The trick is to be able to register the overlay
image so that it exactly lines up with the underlying DEM. 3DEM
will automatically align georeferenced overlays. For scanned
or captured images with georeferencing information, 3DEM has
a geo-referencing dialog box. The user places two crosshair
markers on the overlay image, entering the latitude and longitude
of the two points (generally a point in the upper left and one
in the lower right of the overlay). 3DEM
can use images from many sources: screen captures, Digital Ortho
Photos, USGS Digital Raster Graphics, GeoTiff files, TerraServer
images, etc. The trick is to be able to register the overlay
image so that it exactly lines up with the underlying DEM. 3DEM
will automatically align georeferenced overlays. For scanned
or captured images with georeferencing information, 3DEM has
a geo-referencing dialog box. The user places two crosshair
markers on the overlay image, entering the latitude and longitude
of the two points (generally a point in the upper left and one
in the lower right of the overlay).
3D
Animations
After
creating an overlay view in 3DEM, you can produce animated
flyover movies. You can also make a movie of the 3D view
rotated on an center axis. If you have a broadband Internet
connection, click here for
a small (678KB) sample animation
of Devil's Lake State Park, Wisconsin. (The animation is minimized
in size for the web. 3DEM will generate vivid, large animations,
but they are impractical to serve on the Internet due to their
large file size.)
|
|
|

